Here are links to the software that I use:
http://www.ptgui.com/
http://www.autopano.net/
http://www.adobe.com/products/photoshop/photoshop/
http://gardengnomesoftware.com/
http://www.flamingpear.com/flexify.html
The long version is:
I'm going to stitch two images together using both PTgui and AutoPano Pro to show you how each of them work and interact. I suggest you try stitching 2 images together to get a feel for stitching before you try to stitch a large number together.
So first you have to shoot some images to stitch. When you go out to shoot make sure you overlap your images 20-50% and if possible lock your aperture, exposure, and white balance. Use a tripod if possible; it will make stitching easier.
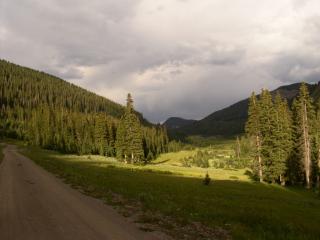
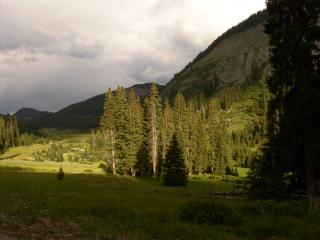
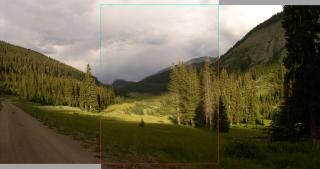
Check out "Image 1" and "Image 2". They overlap by about 50% and the camera's settings were locked so the color and brightness are very consistent. Now look at "Image 1 and Image 2 Overlapped". Make sure you open it big enough so you can see everything. I took "Image 2" and put it over "Image 1" I also added a line so you can easier see the edges of the overlap. Notice how images don't mesh perfectly? Look how misaligned the mountain in the background is.
|
[Window width:
400
640
800
1024
1200
*1600*
] [Image size: XS Small *Medium* Large ]
|
|
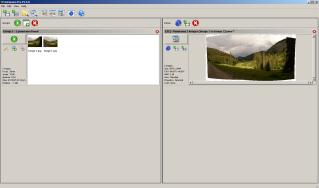
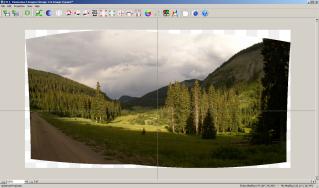
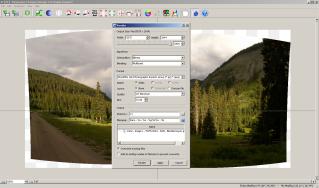
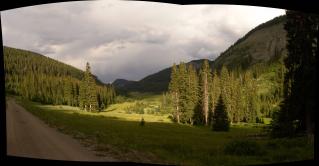
First we are going to use AutoPano Pro to stitch these two images together. Just open AutoPano Pro. Click "File" then Click "Select Images". Choose your images and hit "Open". AutoPano Pro should automatically recognize your panoramic. Depending on your hardware, image size, and number of images it can take from a few seconds to a few minutes for the software to recognize your panoramic (Screen Shot 1). On the right side of AutoPano Pro you will see a little sample of your image stitched together. Click on the button that looks like a little windowpane with a pencil just left of the sample image. Mouse over each of the icons at the top of this window to see what each does(Screen Shot 2). Since everything looks good I'm going to stitch this image as is. To do that click the icon with a little gear on it second from the right. That is going to bring up a tool to set how AutoPano Pro will render your image(Screen Shot 3). The default settings here do a good job. Take a look at the output directory location and choose somewhere for you image to go. Now click render at the bottom. A "Batch Renderer" window will pop up. This window shows you the status of your render. After a little while your image should finish. You can go open it up from the output directory you set. Look at "AutoPano Pro Stitch" below to see the output from my two images.
|
[Window width:
400
640
800
1024
1200
*1600*
] [Image size: XS Small *Medium* Large ]
|
|
Sometime this week (Nov 26, 07) I will add how hand edit/create panoramic images with PTgui. If I don't write the rest send an email to gregrr@gmail.com to remind me.
